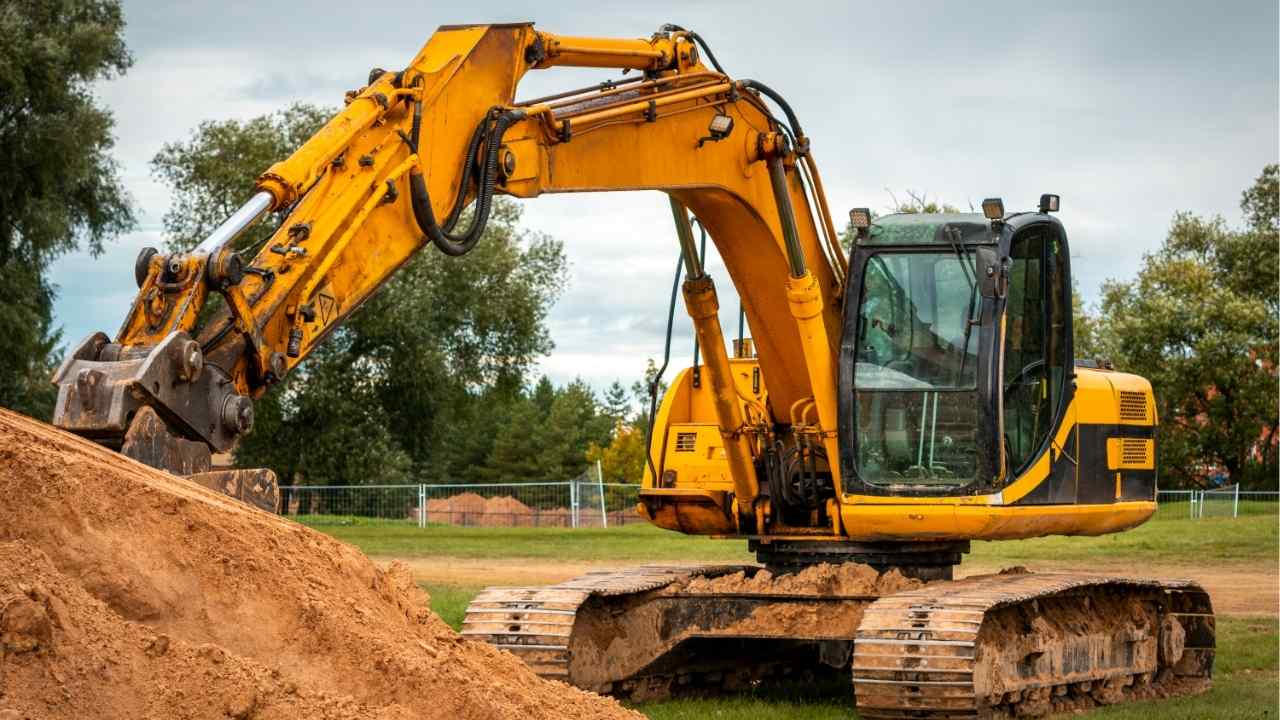
What Happens During a Landscaping Excavation Project? (Step-by-Step)
A beautiful landscape often begins with a stage most homeowners never see in finished project photos: excavation. Before crews can install a new lawn, patio, drainage system, retaining wall, or garden bed, they must prepare the ground so everything built above it remains stable.
For homeowners planning landscaping Spencer MA projects, understanding the excavation process can make the work feel far less disruptive or unpredictable. Professional excavation services Spencer MA contractors follow a structured process that protects the property, manages soil correctly, and prepares the site for long-term results.
Whether the project involves drainage improvements, grading, or excavation for lawns, careful preparation is what separates a lasting landscape from one that develops problems after the first heavy rain.
This guide explains what happens during a landscaping excavation project, from the first property assessment to final grading and cleanup.
Step 1: The Contractor Evaluates the Property
Every successful excavation project starts with a detailed site evaluation. The contractor needs to understand the current condition of the land, the scope of the landscaping plan, and any obstacles that could affect the work.
During the initial assessment, the contractor may examine:
The natural slope of the property
Areas where water collects
Soil type and drainage conditions
Existing trees, shrubs, patios, and walkways
Access points for excavation equipment
Nearby structures, fences, and property lines
The location of underground utilities
The contractor will also discuss what the homeowner wants to accomplish. A project designed to prepare the ground for sod will require a different excavation depth than a patio, retaining wall, driveway extension, or drainage trench.
This early planning stage helps establish the equipment, labor, materials, and timeline required for the job. It also allows potential complications to be addressed before heavy equipment arrives.
Step 2: Utilities and Work Areas Are Marked
Excavation should never begin until underground utility lines have been identified. Gas, electrical, water, sewer, and communication lines may run through areas that appear completely open from the surface.
The excavation contractor will coordinate utility marking before digging begins. Once utilities are located, the crew can establish safe digging zones and adjust the project layout when necessary.
The work area may also be marked using paint, stakes, or flags. These markings show where soil will be removed, where finished elevations should be, and which parts of the property must remain protected.
At this point, the crew may also plan:
Where machinery will enter and exit
Where removed soil will be stored
Which plants or structures need protection
Where gravel, topsoil, or fill material will be delivered
How runoff and loose soil will be controlled
Clear site markings reduce mistakes and help the project move efficiently once excavation starts.
Step 3: The Site Is Cleared
Before digging, the excavation crew removes anything that would interfere with the work. Depending on the project, site clearing may involve removing grass, weeds, roots, brush, old landscaping materials, or damaged hardscape features.
Small plants may be relocated when possible. Larger shrubs, tree roots, or deteriorated structures may need to be removed entirely.
The crew may also strip away the upper layer of organic soil. This material is often stored separately because it can sometimes be reused during final grading or landscape installation.
Site clearing provides an unobstructed work area and allows the contractor to see the actual shape and condition of the ground.
Step 4: Soil Is Excavated to the Required Depth
Once the area is cleared, excavation equipment begins removing soil. The type and size of machinery will depend on the project’s scale, available access, and soil conditions.
Compact excavators and skid steers are often used on residential properties because they can operate in tighter areas while still moving a substantial amount of material.
The required excavation depth depends on what will be installed. For example:
New lawns: The site may need shallow excavation, soil removal, grading, and fresh topsoil.
Patios and walkways: Crews must dig deep enough for compacted gravel, bedding material, and pavers.
Retaining walls: Excavation creates space for the footing, drainage stone, and buried base course.
Drainage systems: Trenches must follow the correct depth and slope to move water effectively.
Garden beds: Poor soil may be removed and replaced with more suitable planting material.
The contractor regularly checks depth and elevation throughout the process. Removing too little soil can create an unstable base, while removing too much can increase material and labor costs.
Step 5: Unsuitable Soil Is Removed or Corrected
Not every type of soil can support a landscaping installation. Loose fill, saturated soil, buried debris, dense clay, and organic material can settle or shift over time.
When unsuitable soil is discovered, the contractor may remove it and replace it with compactable fill or crushed stone. In other situations, the soil may be amended, dried, or stabilized before construction continues.
This step is especially important in areas that experience freezing temperatures. Poorly draining soil can hold water, freeze, expand, and cause patios, walkways, or retaining walls to move.
Addressing weak soil during excavation is far less expensive than repairing a damaged landscape later.
Step 6: The Area Is Graded for Drainage
Grading shapes the land so water flows in a controlled direction. It is one of the most important parts of a landscaping excavation project because even an attractive yard can become a costly problem when water drains toward a house.
The contractor may create a gentle slope away from the foundation or direct runoff toward an approved drainage area. Low spots can be filled, while high areas may be reduced.
Depending on the property, grading may also be combined with:
French drains
Catch basins
Swales
Drainage pipes
Dry wells
Erosion-control materials
The finished grade must support the landscaping design while protecting foundations, lawns, planting areas, and neighboring properties from uncontrolled runoff.
Step 7: Base Materials Are Installed and Compacted
Projects involving hardscaping typically require a strong aggregate base. After excavation reaches the proper depth, the contractor places gravel or crushed stone in layers.
Each layer is compacted before the next one is added. Proper compaction reduces air pockets and prevents the surface from settling unevenly.
Skipping this step can lead to:
Sunken pavers
Cracked surfaces
Uneven walkways
Shifting retaining walls
Water pooling
Expensive repairs
For lawn and planting projects, the crew may instead install screened topsoil and lightly compact or rake the surface. The soil must remain stable enough to resist erosion but loose enough for healthy root growth.
Step 8: Final Grading and Site Preparation Are Completed
After major excavation and base installation are complete, the crew performs final grading. This creates the precise elevations needed for the next stage of landscaping.
The contractor may use grading tools, laser levels, or measuring equipment to verify that slopes and depths match the project plan.
Before moving forward, the crew checks that:
Water will drain correctly
Base materials are properly compacted
Installation depths are accurate
Soil transitions are smooth
The area is ready for sod, seed, plants, stone, or hardscape materials
Small corrections made during final grading can prevent noticeable surface problems once the project is finished.
Step 9: Excess Material Is Removed and the Property Is Cleaned
Excavation often produces more soil, stone, roots, and debris than homeowners expect. Some clean soil may be reused elsewhere on the property, but unsuitable or excess material must be hauled away.
The contractor should remove construction debris, smooth disturbed access areas, and leave the property ready for the next phase of work.
Because heavy machinery can leave tracks or compact nearby soil, minor restoration may also be required around the excavation zone. A professional crew plans equipment movement carefully to limit unnecessary damage.
Short Case Study: Correcting a Waterlogged Backyard
A homeowner planned to install a new lawn in a backyard that remained muddy for days after every storm. During the site evaluation, the excavation crew discovered that the yard sloped toward the home and contained dense clay soil. The crew removed the saturated upper layer, reshaped the grade, installed a drainage system, and added screened topsoil. Once the soil was prepared, the landscaping team installed the new lawn. Instead of simply covering the problem with sod, the excavation work addressed its cause. After several heavy storms, water drained away from the house, and the lawn remained usable rather than becoming muddy again.
What Can Affect the Project Timeline?
A small residential excavation may take only a day or two, while larger or more complex projects can require several days or weeks.
The timeline may be affected by:
The size and depth of the excavation
Soil and groundwater conditions
Equipment access
Underground utilities
Weather conditions
Material delivery schedules
Required permits or inspections
The amount of soil that must be hauled away
Rain can delay excavation because wet soil is heavier, harder to compact, and more likely to damage surrounding areas. Unexpected buried materials, large rocks, or old foundations can also extend the schedule.
An experienced contractor should explain possible delays and keep the homeowner informed as conditions change.
Questions to Ask Before Hiring an Excavation Contractor
Before choosing a contractor, ask how the project will be planned, completed, and cleaned up.
Important questions include:
Is excavation and hauling included in the estimate?
Who will arrange utility markings?
How will drainage be handled?
What equipment will be used?
Where will removed soil be taken?
Will imported gravel, fill, or topsoil be required?
How will surrounding landscaping be protected?
What happens if unsuitable soil is discovered?
Is final grading included?
Is the contractor properly insured?
A detailed written estimate should clearly define the project scope. Be cautious with unusually low estimates that do not include disposal, grading, compaction, or replacement materials.
Build Your Landscape on a Strong Foundation
Landscaping excavation is not simply a matter of digging up soil. It is a measured process that prepares the property for proper drainage, stable construction, healthy plant growth, and long-term performance.
When excavation is done correctly, the finished landscape looks better and requires fewer repairs. When it is rushed, hidden problems may appear months or years later.
Contact a qualified local excavation professional today to schedule a site evaluation and make sure your landscaping project starts with the right foundation.